You rely on your water softener every day in the battle against hard water. So when it stops working, you notice immediately. The spotty dishes return with a vengeance, your laundry feels stiff, and that telltale soap scum starts building up again. Even worse, you might be experiencing a frustrating drop in your home’s water pressure.
A non-functioning water softener is often the result of a simple clog. At Jake Miller Plumbing, we believe in empowering homeowners. While some issues require a professional, many common clogs can be diagnosed and resolved with a little DIY spirit. This guide will walk you through the exact steps a plumber would take to find and fix the blockage.
First, Confirm the Clog: Telltale Symptoms
Before you start taking things apart, let’s confirm you’re on the right track. The most common signs of a clogged water softener include:
- No Soft Water: Your water feels hard, and you see limescale buildup returning.
- Low Water Pressure: A significant drop in water pressure throughout your entire house points to a major blockage in the system.
- Brine Tank Isn’t Draining: After a regeneration cycle, the water level in the salt tank is unusually high.
- Salty Tasting Water: A faint salty taste could mean the system isn’t rinsing properly due to a clog.
A Plumber’s Step-by-Step Guide on How to Fix a Clogged Water Softener
If you’re experiencing one or more of those symptoms, it’s time to investigate. We’ll start with the most common (and easiest) fixes first.
SAFETY FIRST: Before performing any maintenance, locate the bypass valve on your water softener and engage it. This will stop water from entering the unit and allow it to continue to the rest of your home (it will be hard water). Then, unplug the unit from its power source.
Step 1: The Brine Tank – Checking for Salt Bridges and Mush
The brine tank is the number one source of problems. High humidity or the wrong type of salt can cause two distinct issues:
- Salt Bridges: This is a hard, solid crust of salt that forms in the upper portion of the brine tank. It prevents the salt from dissolving into the water below, so the system can’t create the brine needed for regeneration.
- The Fix: Take a broom handle or a long, blunt object and carefully tap the top of the salt bridge until it breaks apart. Then, use the handle to stir and break up any remaining large chunks.
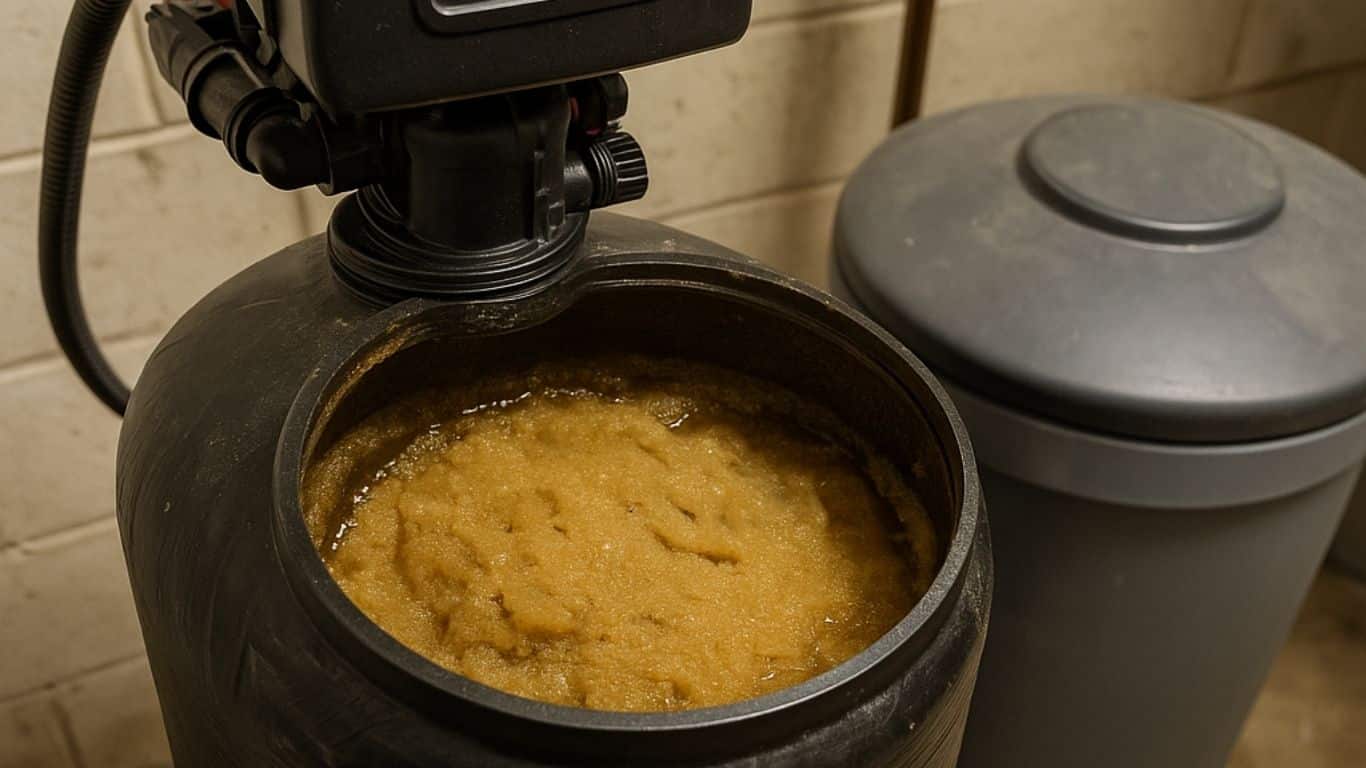
- Salt Mushing: This occurs when salt pellets dissolve and recrystallize at the bottom of the tank, forming a thick, sludgy mess that can clog the brine well.
- The Fix: This is messier. You’ll need to scoop out all the loose salt pellets. Then, use hot water to dissolve the sludge at the bottom. Once it’s dissolved, scoop out the mush and give the inside of the tank a thorough cleaning before adding new salt.
Step 2: The Venturi and Nozzle (The Injector) – Cleaning a Critical Passageway
If the brine tank looks fine, the next culprit is the injector assembly. This component uses the principles of a venturi to create suction, drawing the brine solution from the salt tank into the resin tank during regeneration. If it gets clogged, the whole process fails.
- The Fix:
- With the water in bypass, run a manual regeneration cycle for a few seconds to relieve any water pressure in the system.
- Locate the injector—it’s usually a dome-shaped cap on the side of the control valve with one or two tubes connected to it.
- Carefully unscrew the cap. Inside, you will find a small screen and a cone-shaped nozzle. These parts are tiny and easily clogged by sediment or salt crystals.
- Gently remove the screen and nozzle. Clean them thoroughly with a small brush or a toothpick. Do not use a metal object that could scratch or widen the openings.
- Rinse the parts, reassemble them carefully, and secure the cap.
Step 3: The Brine Line and Resin Bed
If the first two steps don’t solve the problem, the clog may be in the brine line (the tube connecting the two tanks) or, more seriously, within the resin tank itself. You can disconnect the brine line to check for blockages. However, if you suspect the resin bed is fouled with iron or sediment, this typically requires special chemical cleaners (like Iron-Out) and a deep understanding of the system.
When to Call a Professional Plumber
If you’ve cleared the salt bridge and cleaned the injector but the problem persists—or if you notice resin beads in your home’s pipes—it’s time to put down the tools. These are signs of a more complex issue with the control valve or a compromised resin bed.
For stubborn clogs and complex repairs, an expert team can resolve any water softener issue, saving you time, frustration, and the risk of causing more damage. Contact us today to schedule your service.
How to Fix a Clogged Water Softener: Your Top Questions
Here are the answers to some of the most common questions homeowners have when troubleshooting their system.
1. What is a salt bridge and why does it happen?
A salt bridge is a hardened crust of salt that forms in your brine tank, creating an empty space between the salt and the water below. It’s most often caused by high humidity in the storage area or by overfilling the tank with salt. Using low-quality salt pellets can also contribute to the problem.
2. Can I just use any kind of salt in my softener?
No. It’s crucial to use high-purity salt specifically designed for water softeners. Cheaper alternatives like rock salt contain high levels of dirt and sediment that can easily clog the injector and foul the resin bed. We recommend using evaporated salt pellets, as they are the purest form and least likely to cause mushing or bridges.
3. How can I prevent my water softener from clogging in the future?
Prevention is key. First, use only high-quality salt pellets. Second, avoid overfilling your brine tank—it’s best to keep it about half-full and add salt more frequently. Finally, letting the tank run nearly empty of salt every 6–12 months can help prevent old salt from caking at the bottom.
4. My softener regenerated, but the brine tank is still full of water. What’s wrong?
This is a classic symptom of a clog that prevents the brine from being drawn into the resin tank. The most likely culprits are a clogged injector nozzle/screen or a blockage/kink in the brine line. Follow the steps in our guide to clean the injector assembly first, as this solves the problem over 90% of the time.
5. Is it possible my resin beads have gone bad?
Yes, over time, resin beads can lose their effectiveness. On average, water softener resin lasts 10–15 years. If your water has high levels of iron or chlorine, the lifespan can be much shorter. If your system is old and you’ve tried all other fixes, “expired” resin may be the problem, which requires a professional to replace.

